
- Help Center
- Prospects and Accounts
- Prospects
-
Get Started
-
Integrations
-
Meeting Scheduler
-
Conversation Intelligence
-
Calls
-
Dialer
-
Sequences
-
Prospects and Accounts
-
FAQs
-
Triggers
-
Emails
-
Settings
-
Live chat
-
SMS
-
Teams
-
Reports
-
Tasks
-
Opportunities
-
Accounts
-
Meeting
-
Sales Intelligence
-
Outplay Connect Chrome Extension
-
Pricing & Plans
-
Outplay APIs
-
PhoneVerify
How to Export a Prospect List on Outplay
Learn how to export your prospect list with the desired columns
Exporting a custom prospect list is an important task for sales teams to manage and analyze their prospects effectively. Outplay allows you to apply various filters/sort to your prospect list and export them with the specific columns that you require.
In this support article, we will guide you through the process of exporting a prospect list from Outplay.
- Log into Outplay. In the Engagement section, click Prospects on the sidebar menu.
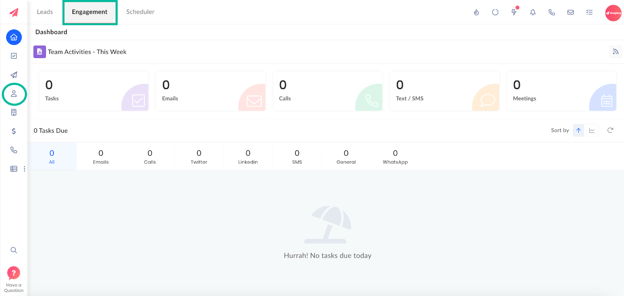
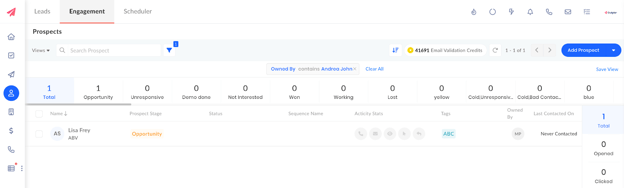
- Here, you can view all your prospects.
- Apply filters: You can filter by a variety of factors, such as engagement level, account stage, and more, to create a custom prospect list.
- Sort the prospect list: You can sort by name, owner, stage, and more.
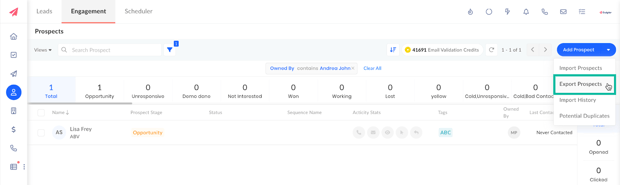
- Click the Export button to begin the export process.
- In the Export Column window that pops up, select/ deselect the checkboxes for the Default or Custom Columns you want to include in the export.

- Click Export.
After the export is complete, you'll receive a notification indicating that the CSV file has been downloaded and saved on your system.