Add a step in your sequence for each task you perform when you engage a prospect.
A sequence in Outplay is made up of steps. Each step defines a task you perform, such as sending an email, making a call, or leaving a comment on LinkedIn, and when you will perform it, relative to the start of the sequence.
For example, you might have a social media warm-up sequence where:
-
On Day 1, you retweet a prospect's tweet.
-
On Day 2, you follow the prospect on Twitter.
-
On Day 4, you leave a comment on their LinkedIn post.
-
On Day 6, you send a connection request through LinkedIn.
Each step will generate a task that you complete for that prospect on the day that it is due. If the step is an automatic email, Outplay sends the email for you according to the sequence's schedule.
Steps can be:
-
Sending an email (manually or automatic).
-
Calling the prospect.
-
Interacting with the prospect via LinkedIn.
-
Interacting with the prospect via Twitter.
-
A generic task you define.
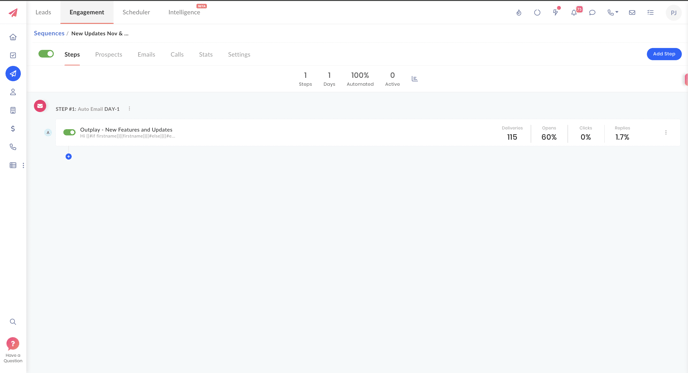
Steps are added and edited in the sequence Steps screen.
Add a step
-
In the Sequences screen, click the sequence you want to add steps to.
-
Click Add Step.
-
Click the type of step you want to add.
-
Select the Touch Type for that step.
-
If applicable, add notes to help in completing the step.
-
The type on which day the step should be run.
-
Click Add.
If you have chosen an email step, click Next to compose the email to be sent. You can use an email template, or write the email yourself.
Click Add once you've finished the email.
Edit, move or delete a step
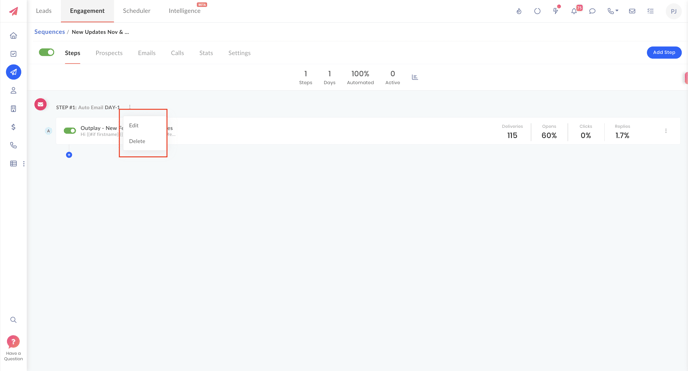
Click the arrow next to the step name to:
-
Edit the step's type, touch type, notes, or the day it occurs.
-
Move the step up or down in the sequence.
-
Delete the step.
Create email variants
You can split-test multiple emails in an email step to find the email subject line or body copy that gets the best response.
-
Create your email step as usual.
-
Click the plus sign under the email.
-
Write your variant email in the email composer.
You can use a template or write the email yourself. -
Click Add.
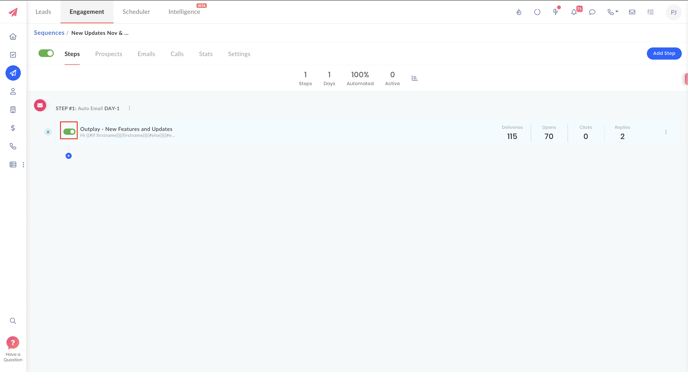
You can turn any of the variant emails on or off using the toggle on the left.


