How to create a multichannel sequence on Outplay
Create effective sequences that win and save time.
Whether you’re prospecting, following up, or closing a deal, there’s a sequence for every part of your sales cycle. But first, what is a sequence?
A sequence is a personalized multi-channel outreach campaign with several sequential touch points. With sequences, you can engage your prospects and personalize your outreach efforts at scale. Moreover, you can reach out to prospects on multiple platforms and increase your chances of closing a deal.
With Outplay, you can create dynamic sequences, complete the right sales tasks at the right time, and win your prospects over!
This article covers the following topics:
- Creating a sequence from scratch
- Add the first step to your sequence
- Add multiple steps to your sequence
Creating a sequence from scratch
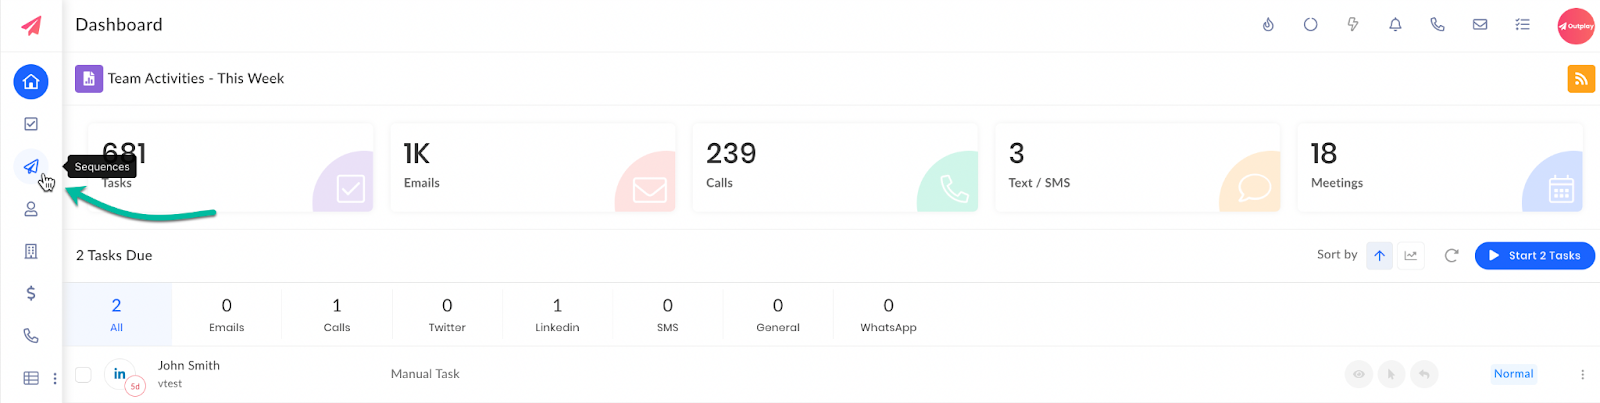
- Log into Outplay. Under the Engagement section, click Sequences on the sidebar menu.

- On the Sequences page, click Create Sequence.

- The Select Sequence Type window pops up. Here, select Build From Scratch.

A sequence is now created and you will be directed to create the first step in the sequence.
Add the first step to your sequence
You can choose to add an email, call, LinkedIn, Twitter, Generic, SMS or WhatsApp step by clicking the respective icons on the top panel of the pop-up window.

Add an Email Step
- The Add an Email Step is displayed first by default.

- After completing the fields, click Next.

- In the following window, the Add Email Template section is displayed.

- Select Type of email and enter the Subject and Email Message Body in their respective fields. Click Add.
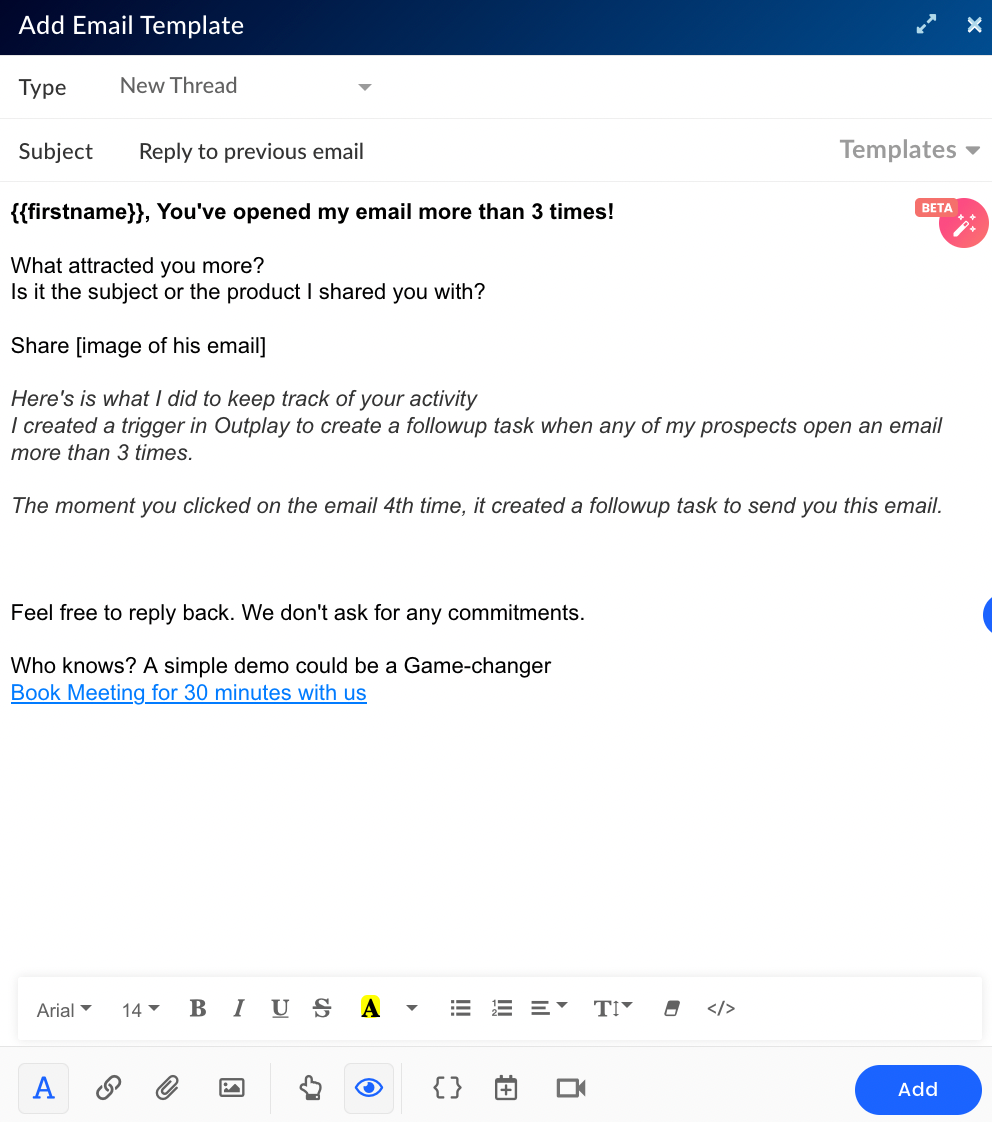
An email step is added in the sequence successfully.
Add a Call Step
- On the top panel of the window, click the Call icon.

- In the Add a Call Step section, complete the fields as per the table below:
- After completing the required fields, click Add.
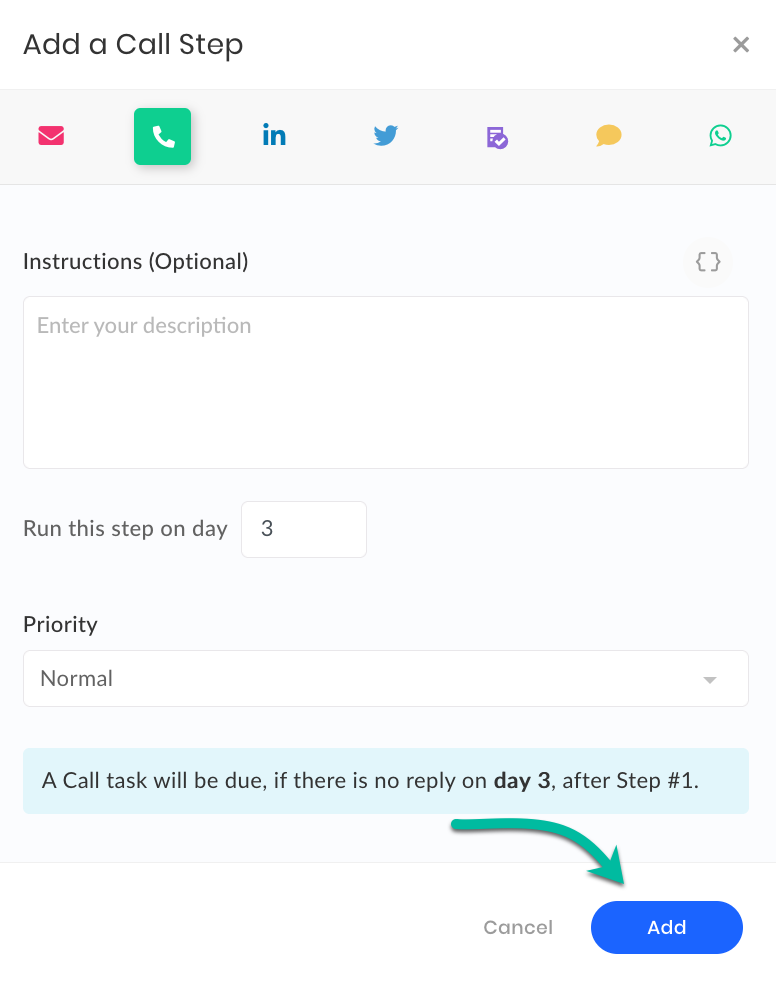
A call step is now added in the sequence.
NOTE: When a call step is created in a sequence, a call task is created for you by default.
Add a LinkedIn Step
- On the top panel of the window, click the LinkedIn icon.
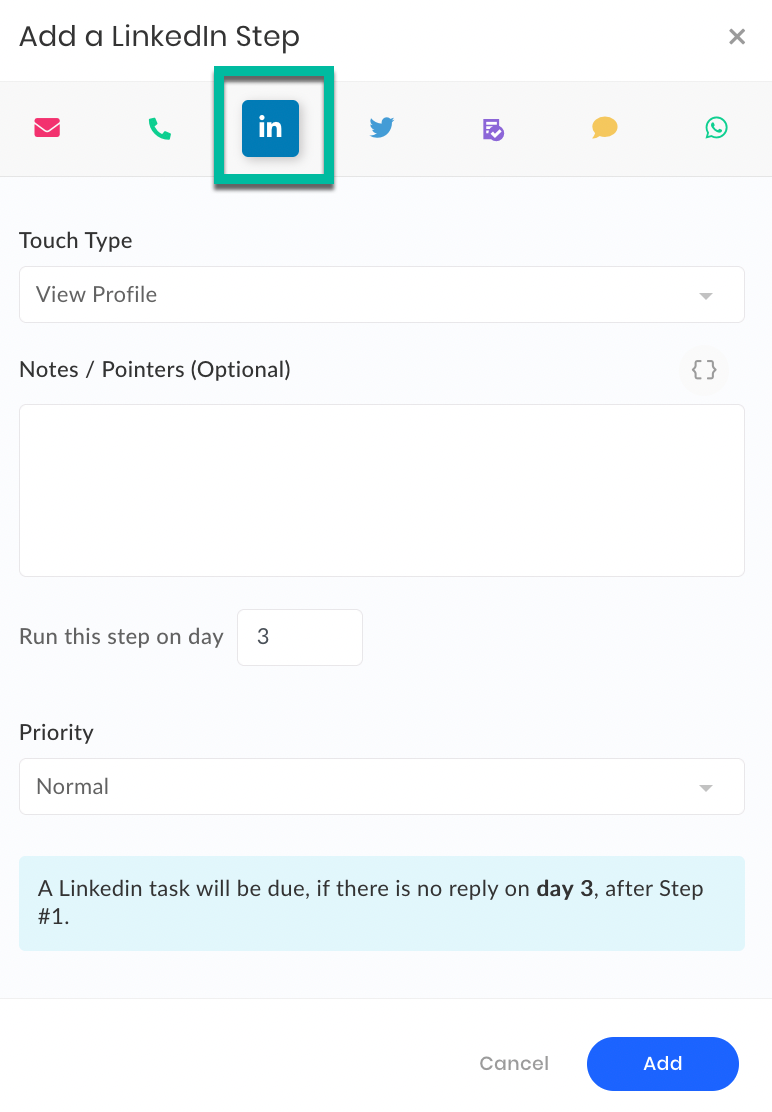
- In the Add a LinkedIn Step section, complete the fields as per the table below:
- After completing the required fields, click Add.
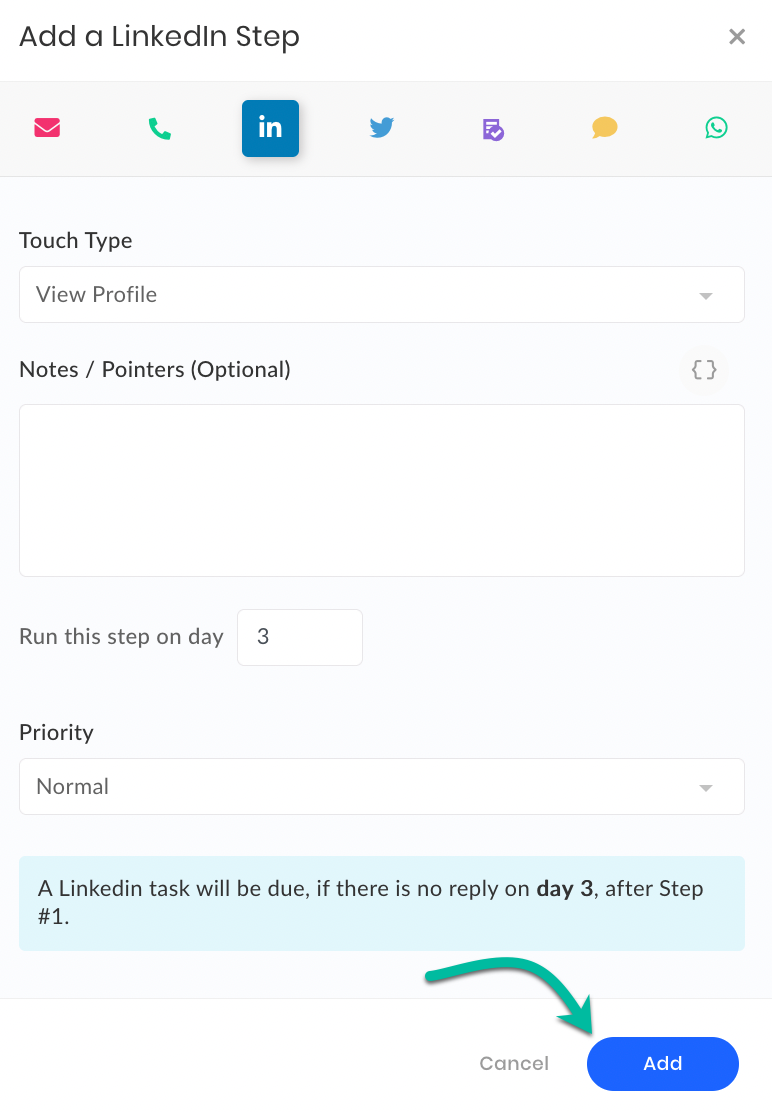
A LinkedIn step is now added in the sequence.
NOTE: When a LinkedIn step is created in a sequence, a LinkedIn task is created for you by default.
Add a Twitter Step
- On the top panel of the window, click the Twitter icon.
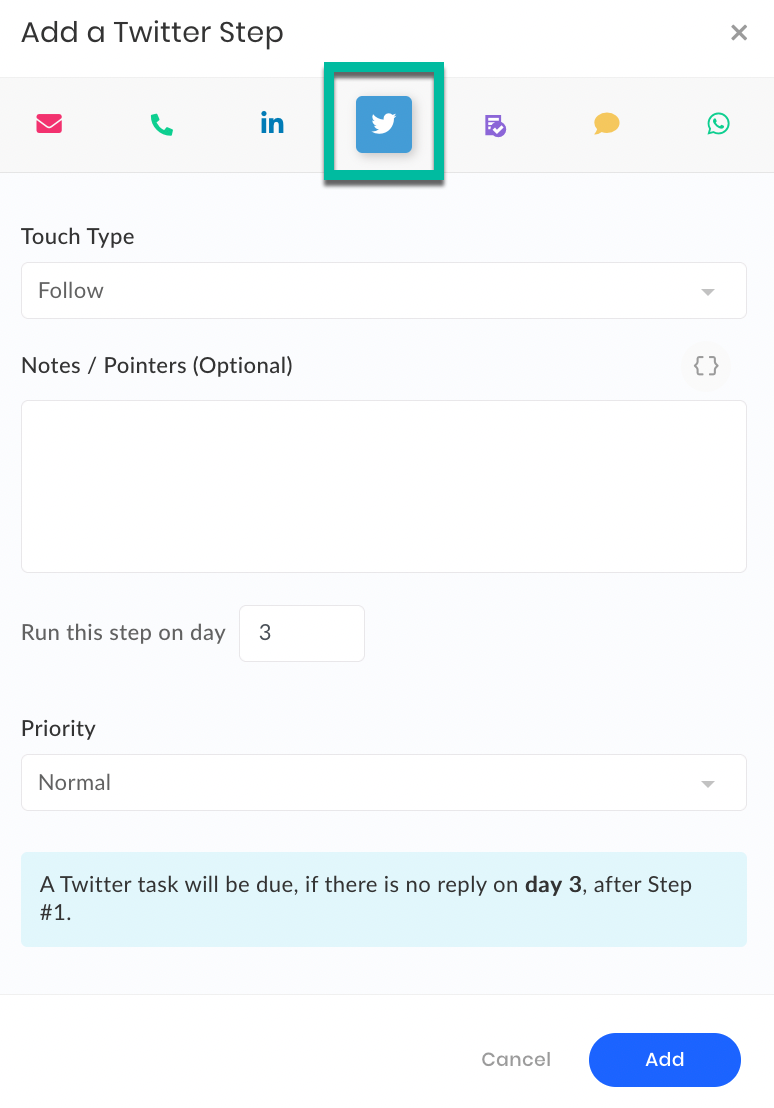
- In the Add a Twitter Step section, complete the fields as per the table below:
- After completing the required fields, click Add.
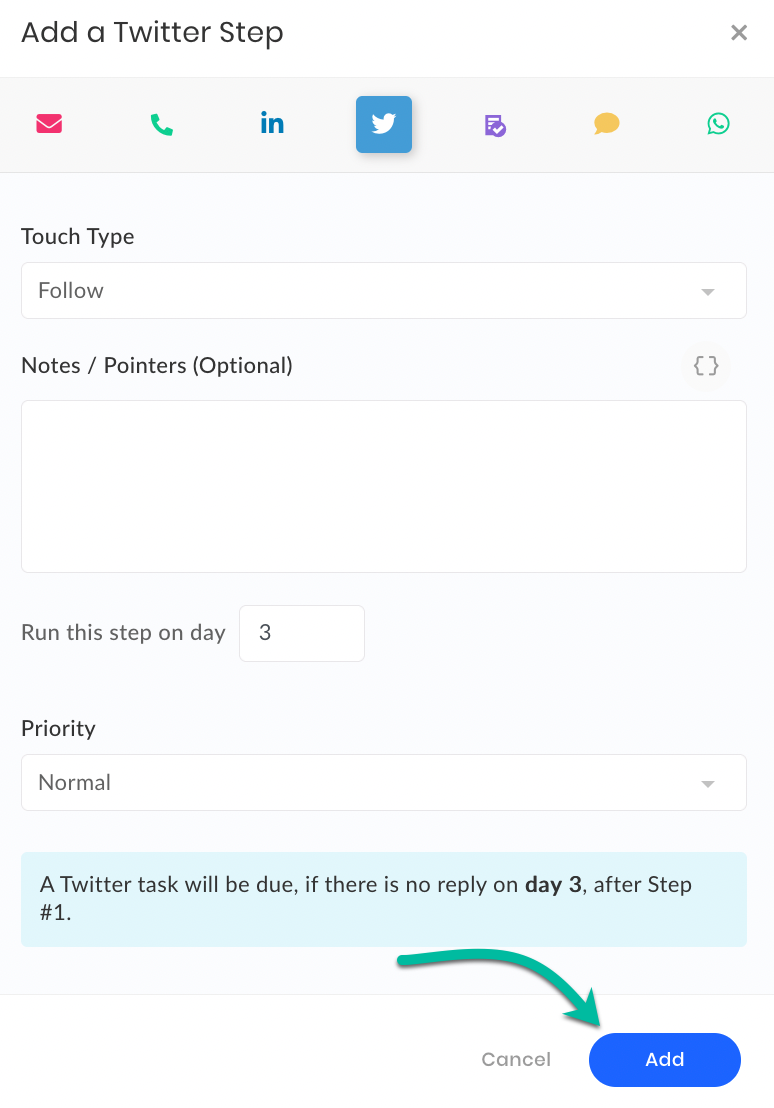
A Twitter step is now added in the sequence.
NOTE: When a Twitter step is created in a sequence, a Twitter task is created for you by default.
Add a Generic Step
- On the top panel of the window, click the Generic Task icon.
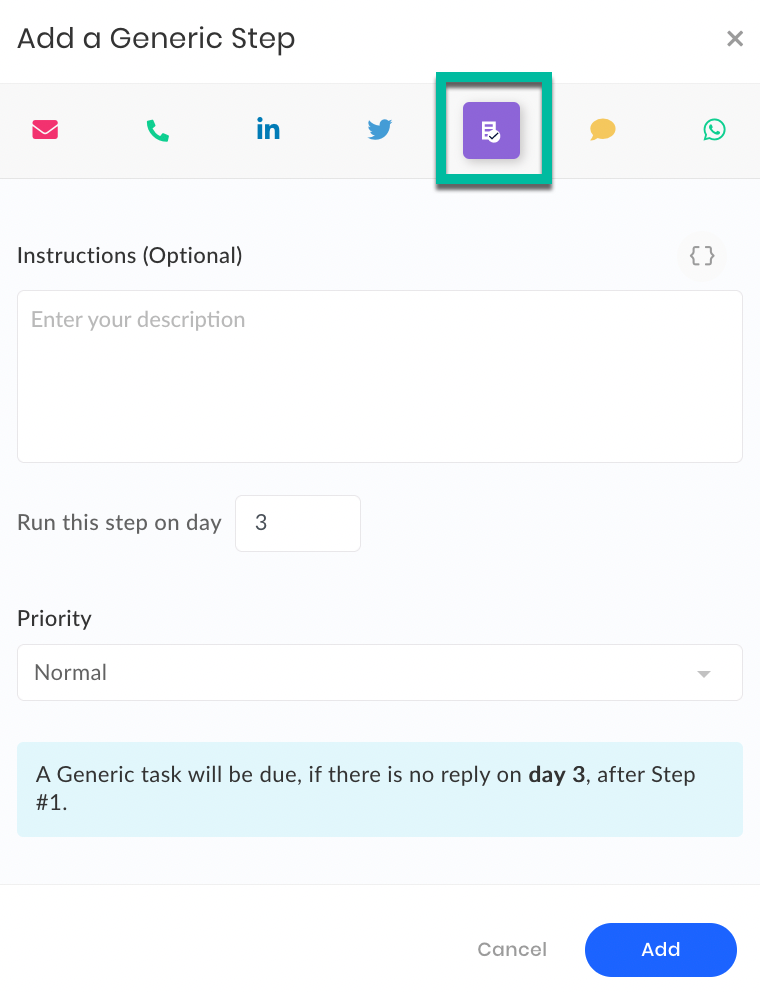
- In the Add a Generic Step section, complete the fields as per the table below:
- After completing the required fields, click Add.
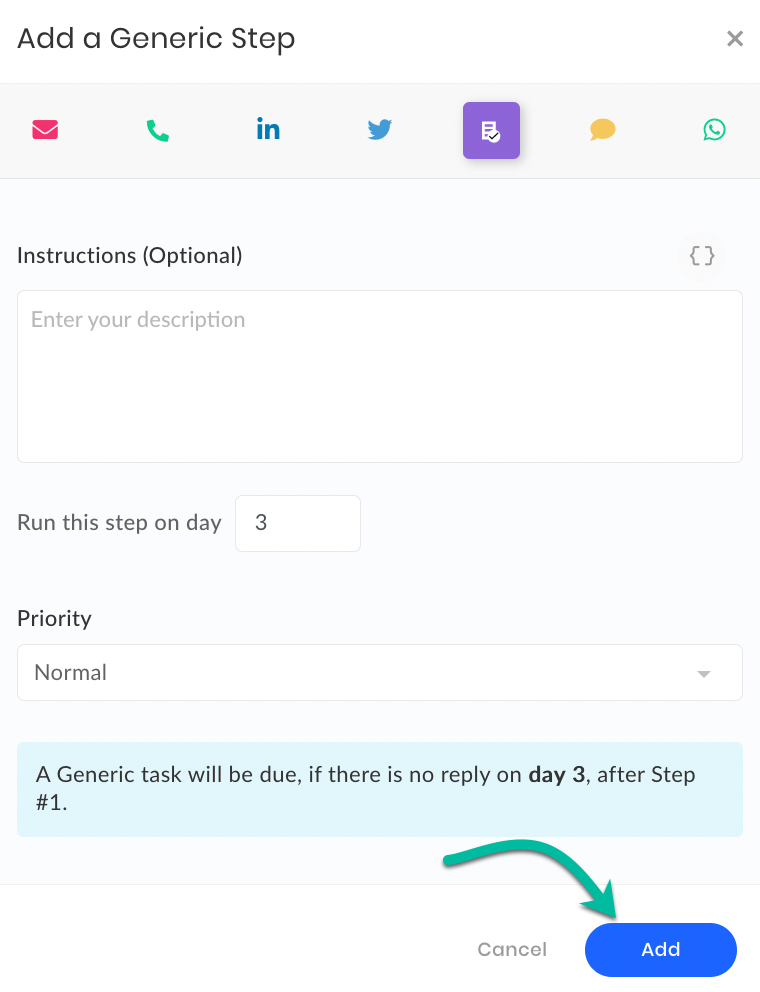
A generic step is now added to the sequence.
NOTE: When a generic step is created in a sequence, a generic task is created for you by default.
Add an SMS Step
- On the top panel of the window, click the SMS icon.
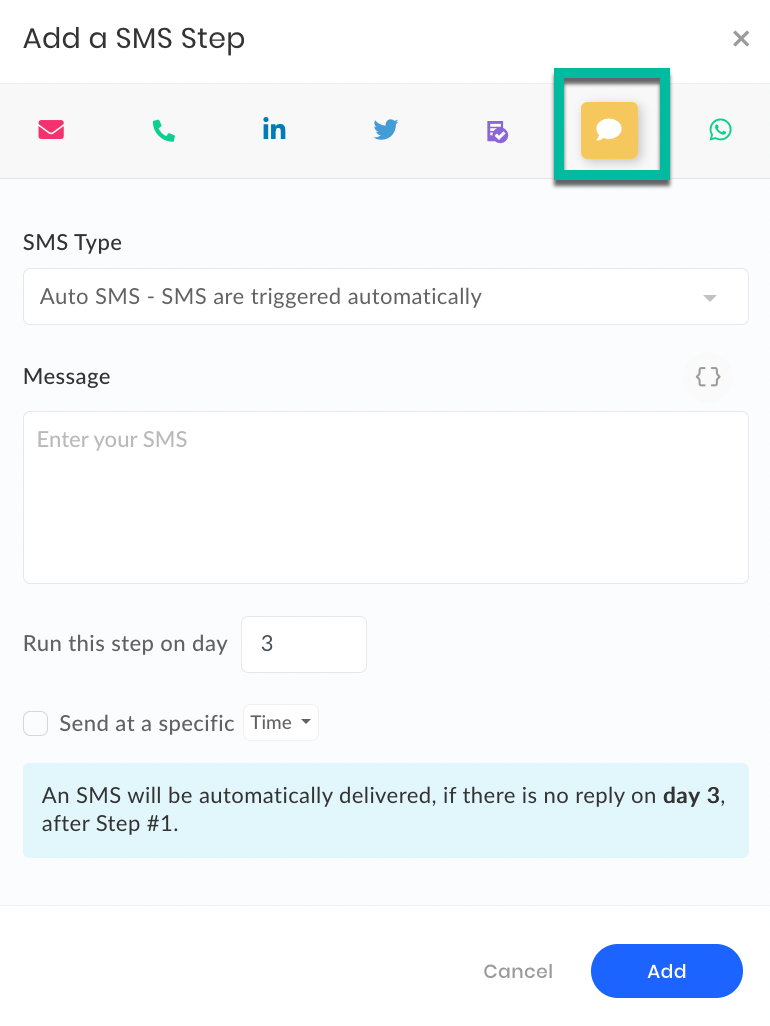
- In the SMS section, complete the fields as per the table below:
- After completing the fields, click Add.
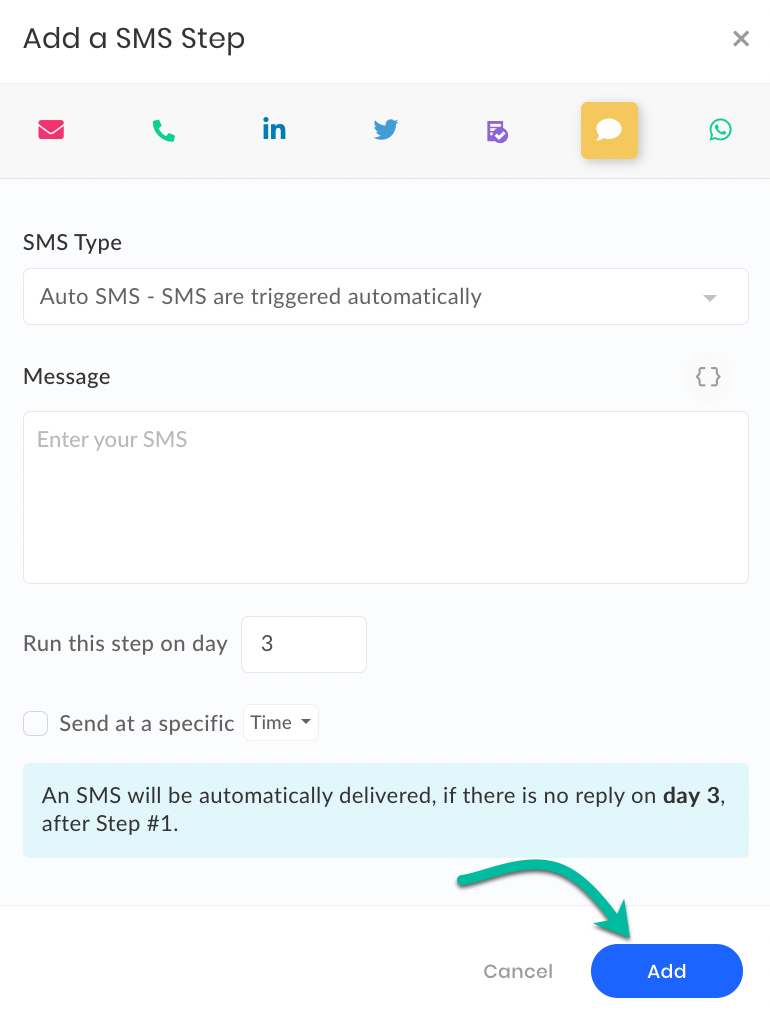
An SMS step is now added to the sequence.
Add a WhatsApp Step
- On the top panel of the window, click the WhatsApp icon.
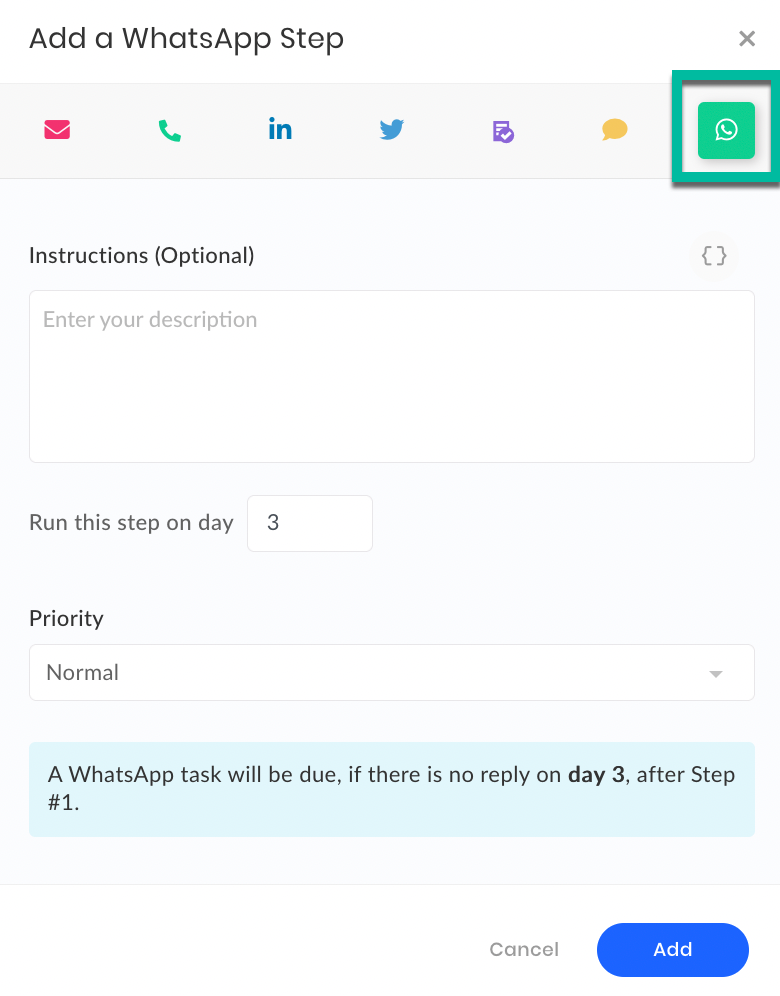
- In the Add a WhatsApp Step section, complete the fields as per the table below:
- After completing the required fields, click Add.
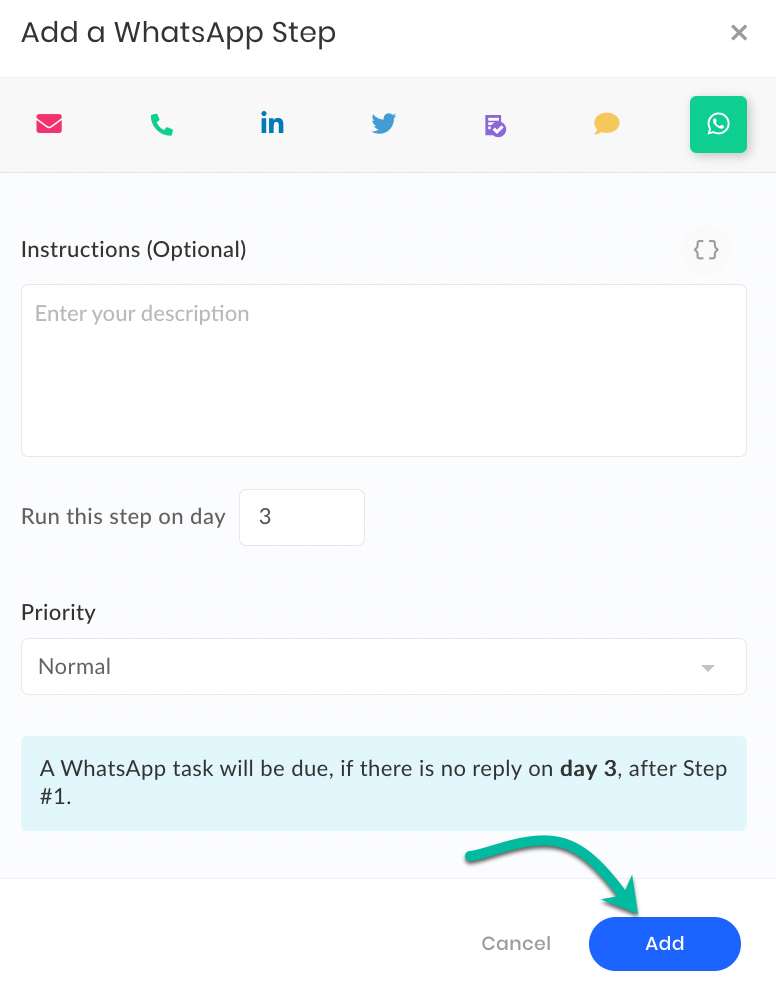
A WhatsApp step is now added to the sequence.
NOTE: When a WhatsApp step is created in a sequence, a WhatsApp task is created for you by default.
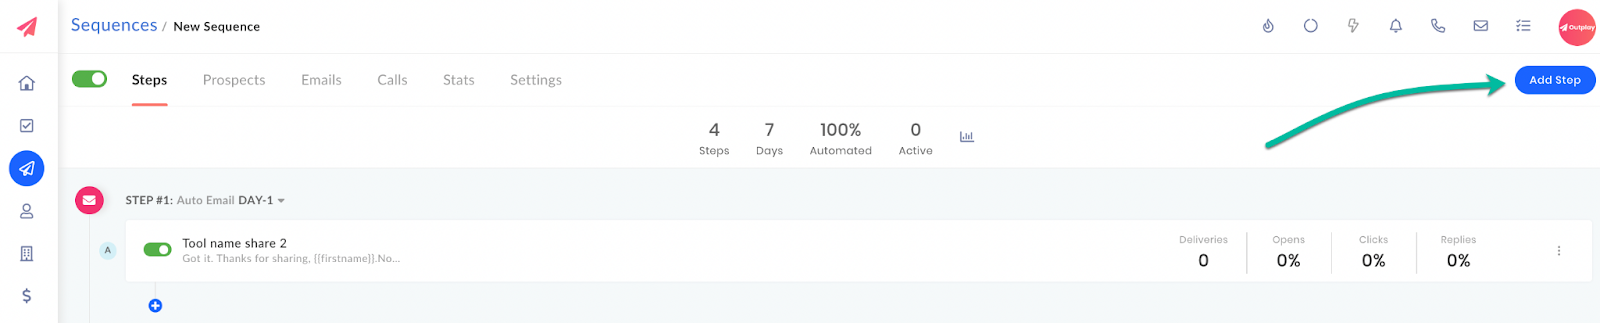
Add multiple steps to your sequence
- On Outplay, click Sequences on the sidebar menu.
- On the Sequences page, select the sequence you want to add steps to.

- Click Add Step.
- In the pop-up window, you can choose to add an Email, Call, LinkedIn, Twitter, Generic, SMS or WhatsApp step by clicking the respective icons on the top panel of the pop-up window. Complete the fields for the same.
- Click Add.
The new step is now added to the sequence. You can repeat the process to add multiple steps in the sequence.
Updated on: 26/06/2024
Thank you!