How to validate prospect email addresses on Outplay
Maximizing Sales Outreach with Accurate Contact Information
Email validation is an important aspect of a sales process. By validating a prospect's email address, you can ensure that your emails reach the right inbox and aren't lost in spam or bounced back. This results in increased open rates, improved response rates, and ultimately, more closed deals.
With Outplay's email validation, you can save time and effort by having confidence in the accuracy of your contact information. In this guide, we'll show you how to validate prospect email addresses in Outplay and take your sales efforts to the next level.
This article discusses the following:
- Validate email addresses while adding prospects
- Validate email addresses in Prospects, Accounts & Opportunities
- Validate email addresses of multiple prospects
Validate email addresses while adding prospects
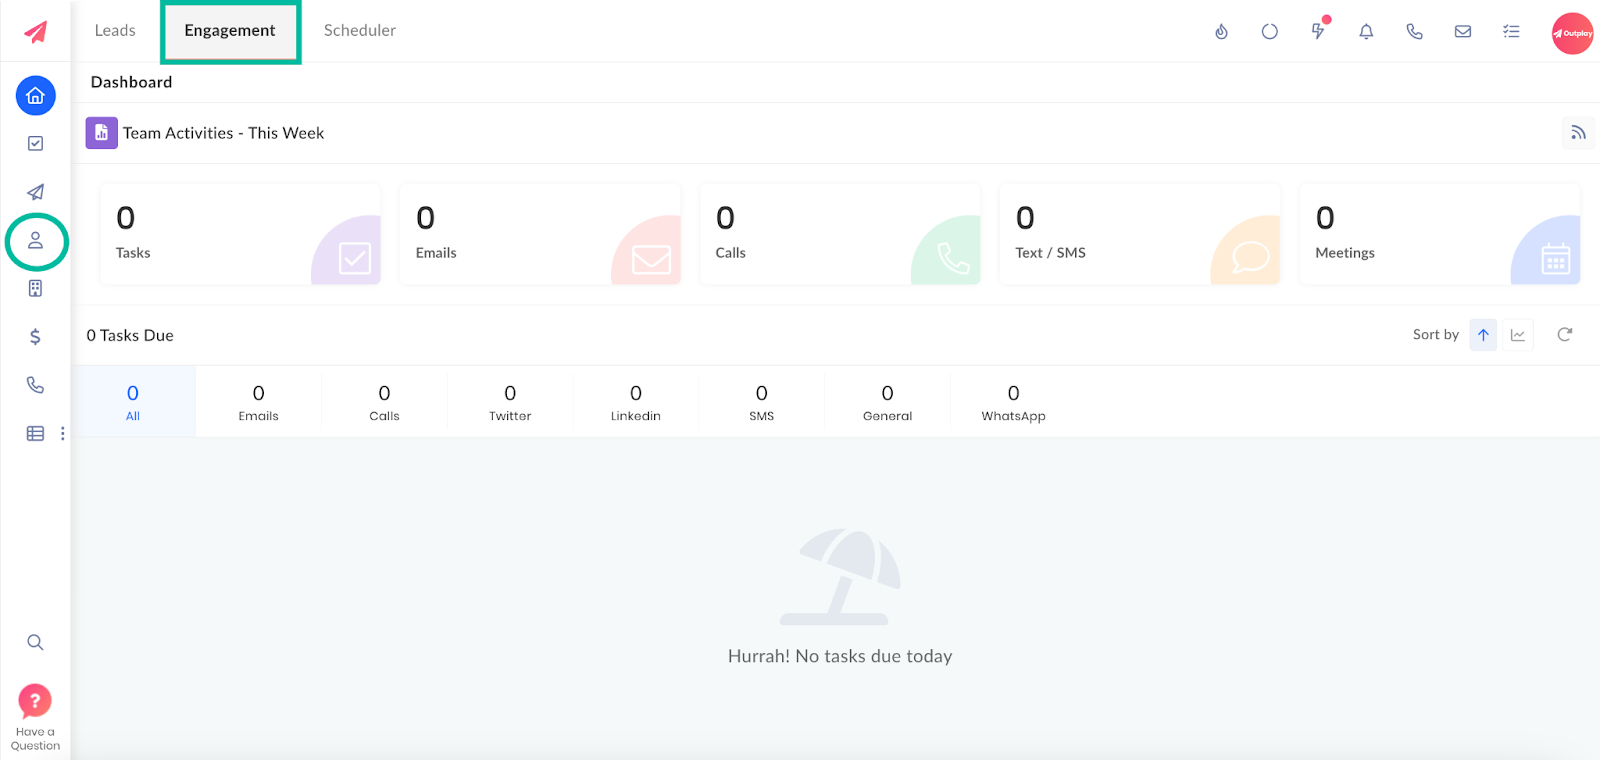
- Log into Outplay. Under the Engagement section, click Prospects from the sidebar menu.

- Click the Add Prospects button.

- The Add Prospect window pops up. You can complete the fields for the prospect as required. After an email address is entered in the Email field, you can click the Validate button to validate the entered email address.

- The validation process begins. Once the email address is validated, a green tick icon indicating successful validation is displayed next to the email address.
TIP: You can hover over the successful validation icon to view the date on which the email address was validated.

- Click Create.
The prospect is added to Outplay and their email address is validated successfully.
TIP: You can validate the email addresses while adding prospects via CSV Import as well. While uploading the CSV File, select the checkbox for Validate Emails when Prospects are Imported under the Import section.

Validate email addresses in Prospects, Accounts & Opportunities
The process to validate email addresses in the Prospects, Accounts, and Opportunities section is similar. You can select the prospect you want to validate in these sections and validate their email addresses from the Prospect's Information Panel.
In this scenario, let’s look at validating prospects from the Prospects section.
- Log into Outplay. Under the Engagement section, click Prospects from the sidebar menu.

- Click the prospect whose email address you want to validate.

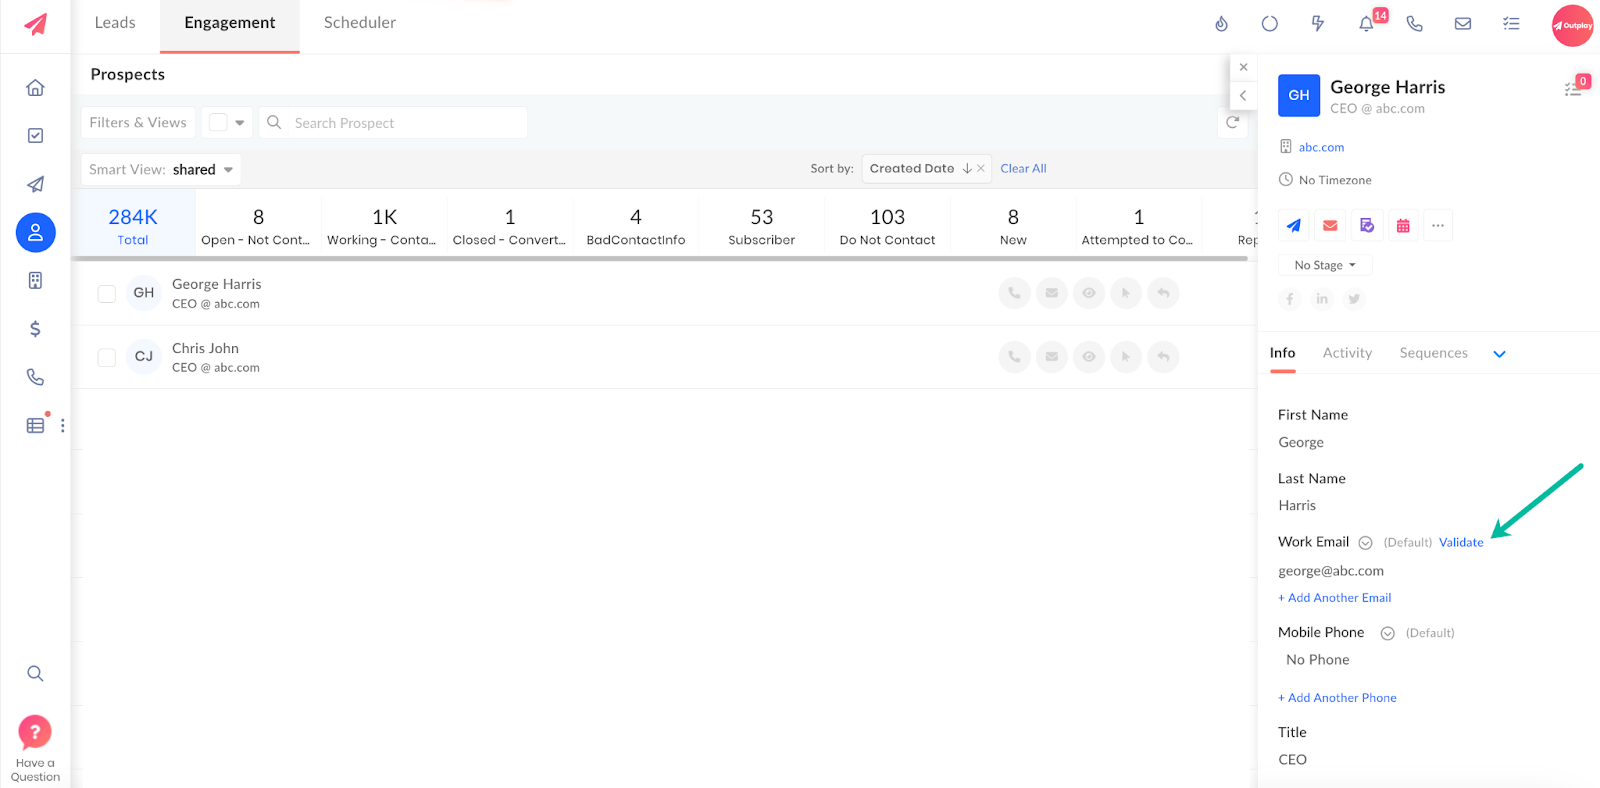
- The Prospect’s Information Panel slides in from the right. For every Email field for the prospect, you can click the Validate button to validate the email address.
NOTE: The Validate button is available for all Email fields.
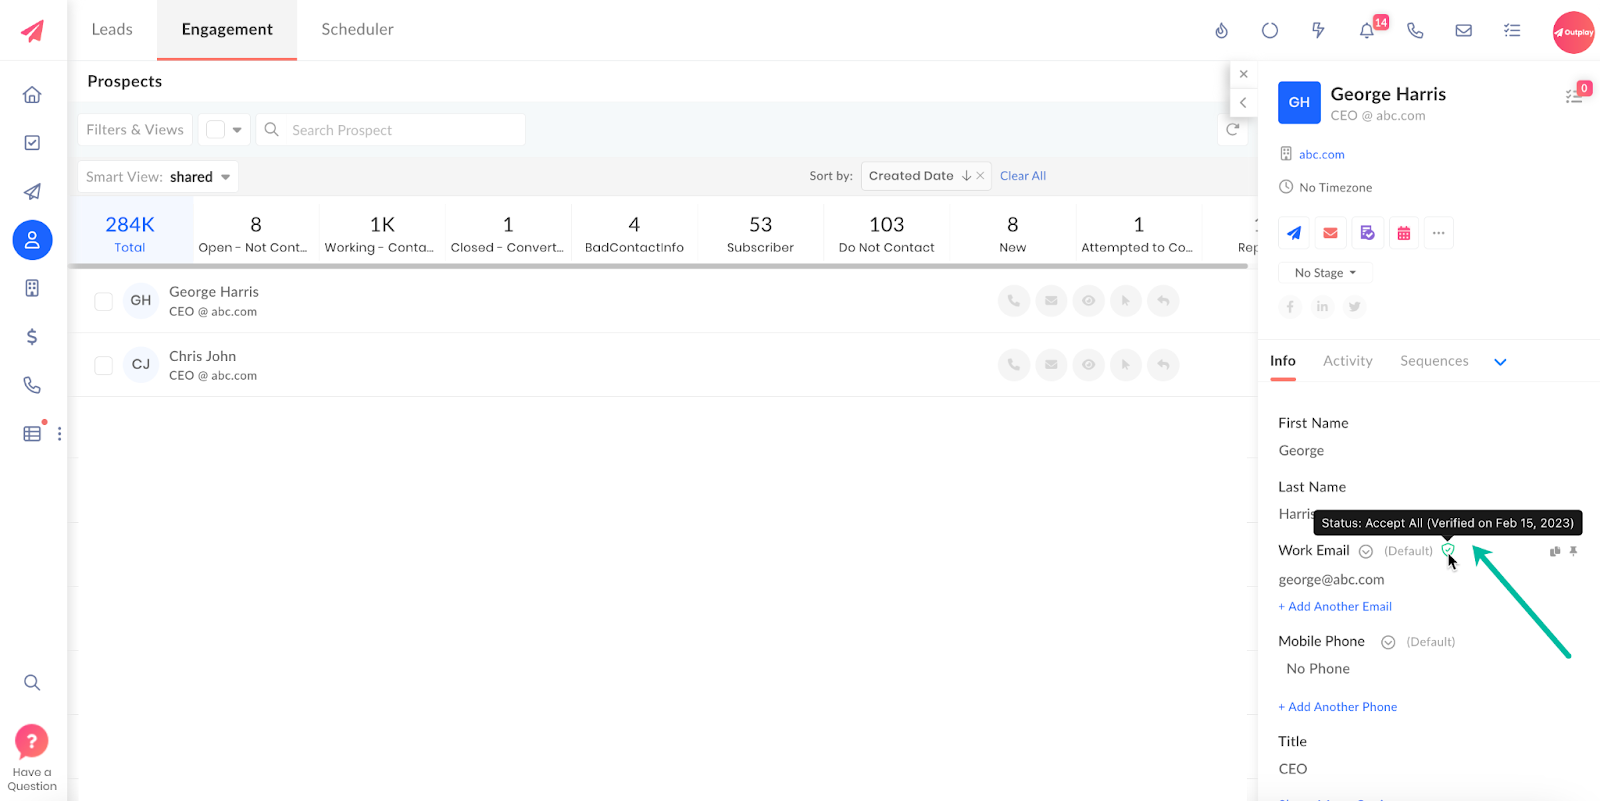
- The validation process begins. Once the email address is validated, a green tick icon indicating successful validation is displayed next to the email address.
TIP: You can hover over the successful validation icon to view the date on which the email address was validated.
Validate email addresses of multiple prospects
- Log into Outplay. Under the Engagement section, click Prospects from the sidebar menu.
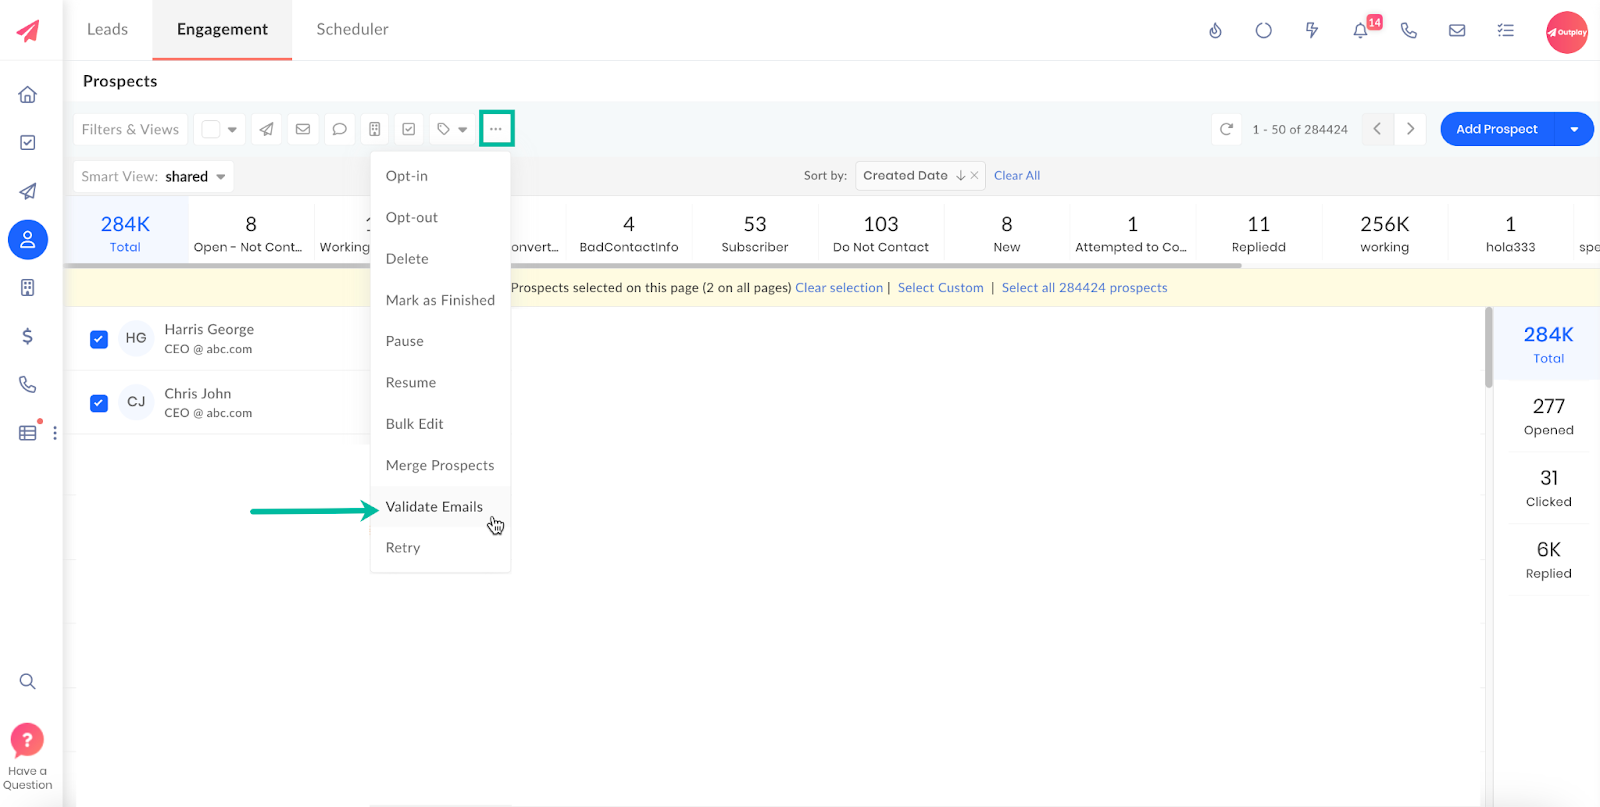
- Select the checkboxes for all the prospects whose email addresses you want to validate and click the More Options button on the top panel.
- The Confirm Validation window pops up. Click Yes to continue with the validation.

- Once the validation is complete, the Action Stats are displayed. Click Done.
NOTE: The validation results will be displayed, including any failures and the reasons for those failures.

TIP: You can select multiple prospects in the Accounts and Opportunities sections and validate their email addresses in a similar manner.
NOTE: During bulk validation of multiple prospects, such as 100 prospects, the validation process may take some time. You will be notified once the validation of all prospects is complete. Moreover, only the primary email addresses of the prospects are verified during bulk validation.
NOTE: An email address can only be validated once in 30 days.
Updated on: 26/06/2024
Thank you!